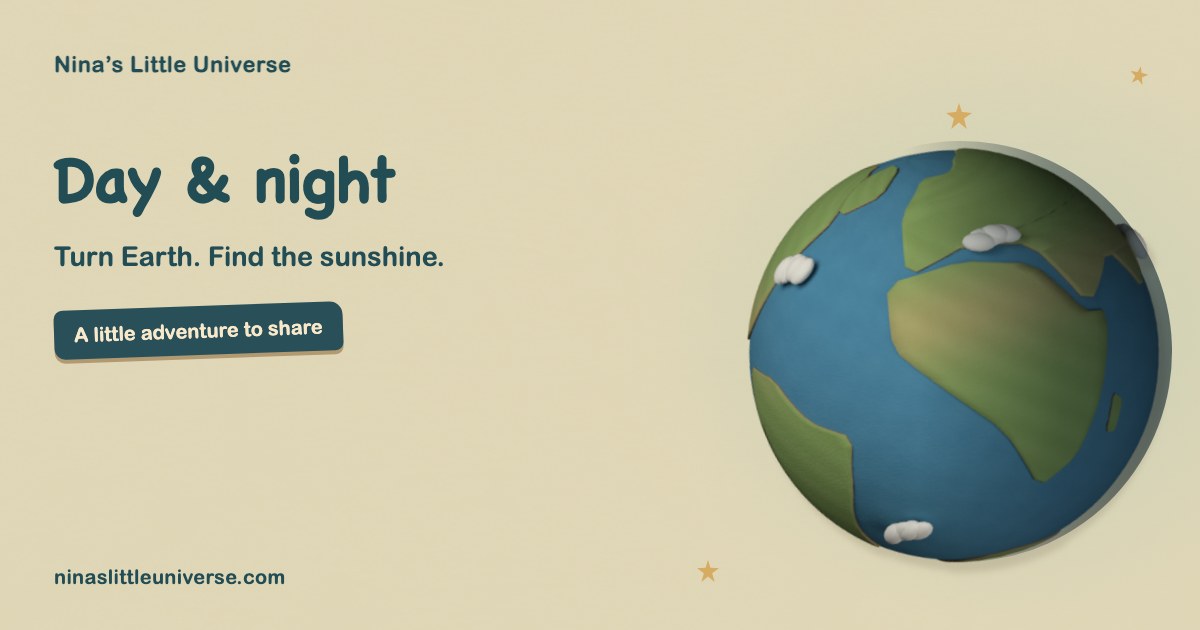
Here is a short walkthrough of a complete ten-minute day and night lesson with Nina.
You need one shared screen, pencils, and worksheet page one for each child or pair. The second page contains your lesson plan and suggested answers.
1. Ask and predict
For the first two minutes, ask: Where does the sunshine go at night?
Invite two ideas before giving the answer. Children can speak, point, or gesture. Explain that you will follow one little home on a turning Earth, then check their predictions together.
2. Pause, then turn Earth
From minutes two to five, open Day and night. Pause the moving model, then use the rotation slider to turn Earth slowly.
Keep following the same house. Before each turn, ask whether its next position will be in sunlight or darkness. Let children predict before you move.
Notice what changes
When the house faces the Sun, it has daytime. When Earth turns the house away from the Sun, it has nighttime.
Point to a place on the opposite side. Can one place have day while another has night? The Sun does not switch off.
3. Draw or tell
From minutes five to eight, give children worksheet page one. With the Sun on the left, shade the right half of Earth and draw a house on the sunlit side.
Then ask them to show what happens as their house turns away. Accept a drawing, gesture, or spoken explanation. An adult can write their words.
4. Explain and check
In the final two minutes, ask: What moved to make night at our house? Listen for: Earth turns.
Revisit the first predictions. If children say the Sun switches off, turn the model again and compare both sides. Finish by asking them to point to somewhere having daytime while the house has night.
Ready to try it together
The lesson, printable worksheet, and day and night model are together on the teachers and libraries page.
Use one shared screen and keep drawings on paper. If the model will not load, use the worksheet prompts. No account or children’s photos are needed.
Worksheets & lesson plans
Each PDF has two A4 pages: page 1 is the children’s worksheet; page 2 is the lesson and suggested answers. Print page 1 for each child or pair. Black-and-white printing works well.
Day & night
Children can explain that Earth turning brings a place into sunlight and then into darkness.
What you need: One shared screen, a pencil, and page 1 of the worksheet for each child or pair. No colour printing needed.
0-2 min · Ask and predict
Ask: Where does the sunshine go at night? Invite two ideas. Tell children they will follow one home on a turning Earth.
2-5 min · Watch, pause, turn
Open Day & night. The model starts moving automatically; press Pause to choose one place together. Move the paper tab slowly and follow that same place from the bright side to the dark side. Ask children to predict before each turn.
5-8 min · Make a record
Hand out worksheet page 1. Children shade the night side, add a house on the day side, then draw or tell what happens as Earth turns. Read the final choice aloud. A partner or adult can write a child’s words.
8-10 min · Explain and check
Ask: What moved to make night at our house? Listen for Earth turns. Invite a child to point to a place having daytime while the house has nighttime. Use the model again if they say the Sun switches off.
Suggested answers
With the Sun drawn on the left, shade the right half of Earth. Put the house anywhere on the left, sunlit half.
Accept a drawing, gesture or explanation showing the same house turning away from sunlight into night.
The correct final choice is Earth turns. Different places can have day and night at the same time.
Ways to adapt
For younger children, point and explain aloud instead of writing. For an extra challenge, ask them to add a second home on the opposite side and compare its time of day.
Moon phases
Children can describe Moon phases as different views of the Moon’s sunlit half, while the Moon itself stays round.
What you need: One shared screen, a pencil, and page 1 of the worksheet for each child or pair. No colour printing needed.
0-2 min · Remember a Moon
Ask children to describe a Moon they have seen. Was it a thin curve, a half circle or a full circle? Ask whether they think the Moon itself changed shape.
2-5 min · Find three views
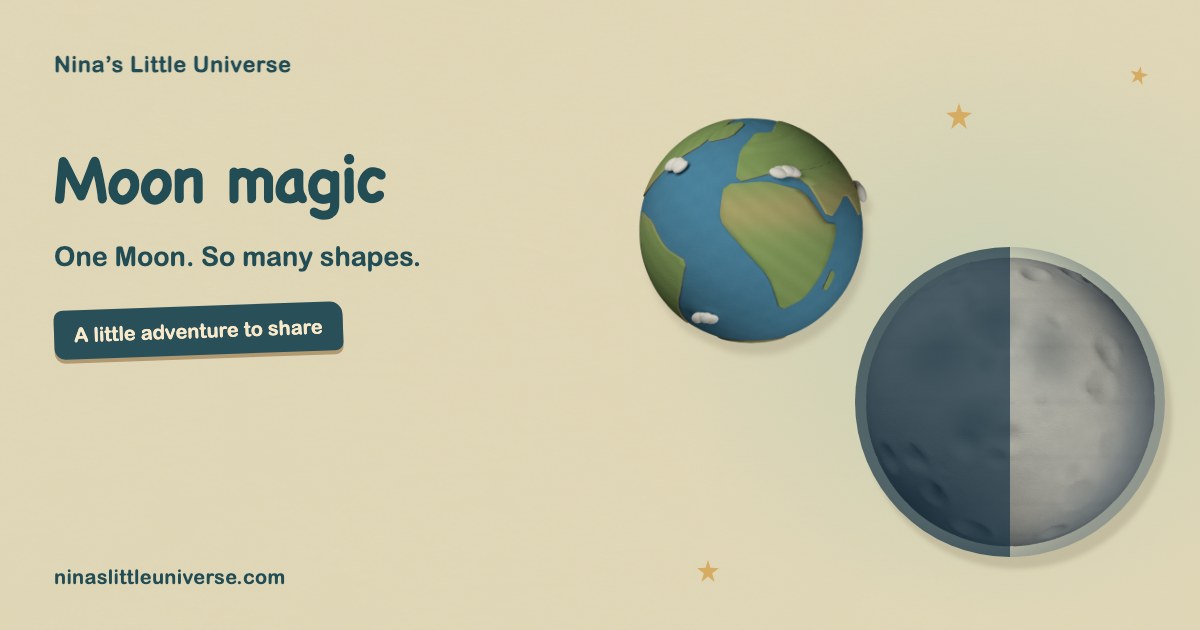
Open Moon magic and pause the automatic movement. Move the Moon around Earth with the paper tab. Stop at a crescent, a half Moon and a full Moon. Point to the sunlight and compare the view from Earth at each stop.
5-8 min · Draw what looks dark
Children shade the dark parts of the three worksheet circles, leaving the bright parts white. They can copy the paused model. Invite a drawing or spoken answer about why the view changes, then read the final choice aloud.
8-10 min · Explain the change
Ask: Did our Moon shrink, or did the bright part we can see change? Listen for a changing view of reflected sunlight. If a child says Earth’s shadow makes the phases, distinguish ordinary phases from a lunar eclipse.
Suggested answers
Crescent: leave a thin bright curve. Half Moon: leave half white. Full Moon: leave the whole circle white. Either left or right illumination is acceptable for the first two drawings.
Accept the idea that we see different amounts of the sunlit half as the Moon travels around Earth. The Moon reflects sunlight.
The correct final choice is The Moon stays round. Earth’s shadow causes a lunar eclipse, not the ordinary phase cycle.
Ways to adapt
For younger children, complete just one circle and explain aloud. For an extra challenge, ask them to find two different positions that show a half Moon and compare which side looks bright.
The solar system
Children can locate Earth among the eight planets, recognize one feature of another planet, and identify the Sun as a star.
What you need: One shared screen, a pencil, and page 1 of the worksheet for each child or pair. No colour printing needed.
0-2 min · Find our home
Ask: Which planet do we live on? Show the eight names in order from the Sun. Count together until Earth, the third planet. Explain that the Sun is a star.
2-5 min · Meet two neighbours
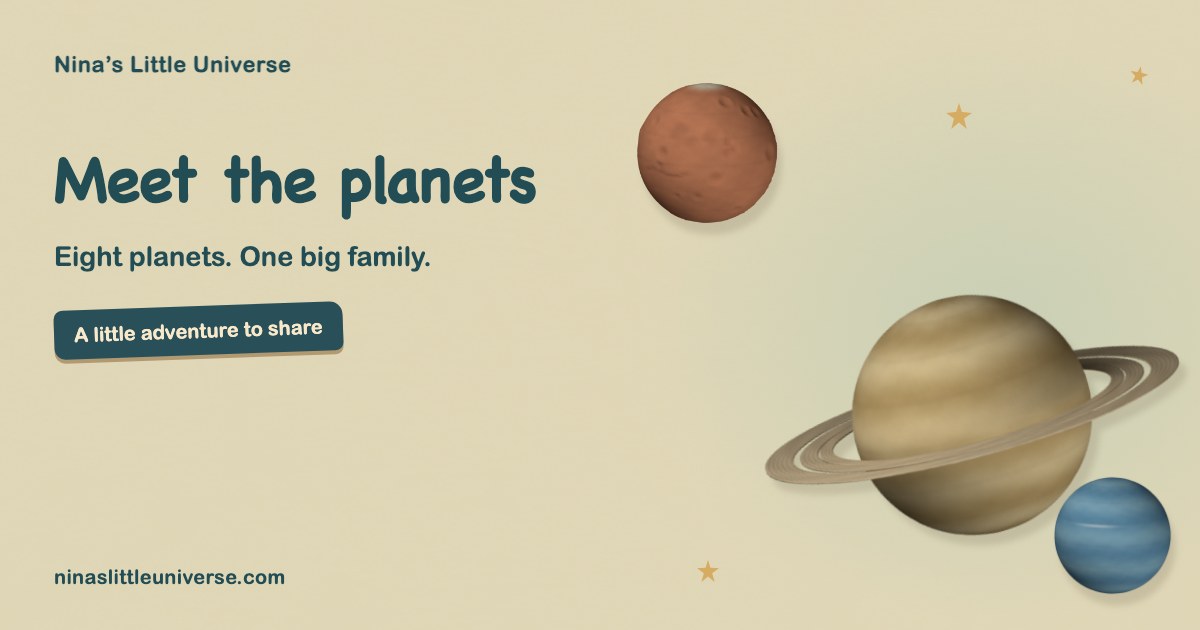
Open Meet the planets. Select Earth and Saturn and look for a detail that helps identify each. Pause the automatic turn for a closer look. Invite one more planet choice and ask children to compare what they notice.
5-8 min · Draw a planet clue
Children circle Earth on the worksheet and add rings to Saturn. Each chooses two planets to draw in the boxes, adding a feature from the model. They can point to the printed names if writing them takes too long. Read the final choice aloud.
8-10 min · Share and check
Ask children to show one drawing and explain their planet clue. Check that they can find Earth and call the Sun a star. Remind them that the worksheet circles show order, not real sizes or distances.
Suggested answers
Earth is number 3 and Saturn is number 6. Circle Earth and draw rings around Saturn.
Accept recognizable clues such as Earth’s oceans, Saturn’s rings, Mars’s reddish colour described in words, or Jupiter’s bands. Drawings need not be artistically accurate.
The correct final choice is star. The eight planets are Mercury, Venus, Earth, Mars, Jupiter, Saturn, Uranus and Neptune.
Ways to adapt
For younger children, draw one planet and explain it aloud. For an extra challenge, ask a partner to identify a drawing from its feature before hearing the planet’s name. Saturn is not the only planet with rings.
Using Nina with a group
Before the session
Open your chosen activity on the screen you will use. Interactive models need internet access, JavaScript, and 3D graphics. Download the PDF beforehand so you can still use its prompts and worksheet if the model does not load.
One shared screen is enough
Use a classroom display, library computer, or tablet. Let an adult control the model while children predict, point, draw, and explain. Individual devices are optional.
Keep the pace gentle
Follow the four short stages in each lesson below. Pause moving models before asking a question; use Reduce motion where available. The standalone day/night embed starts still.
Adapt for your group
Read prompts aloud. Accept pointing, drawings, gestures, or spoken answers; an adult can write down an explanation. Ages are guidance, not a reading-level requirement.
For a library drop-in
Run one ten-minute round on a shared screen. Give families the worksheet to take away and the activity link to explore again at home.
Keep children’s work offline
Names, photos, and uploads are not required. Keep drawings on paper. Grown-up sharing controls provide a ready-made message with the activity link.
Put this activity on your website
For teachers, libraries, and educational blogs: free, with no signup. The model includes a small link back to Nina’s Little Universe.
Paste this into an HTML or Embed block on your website. It fits the available width; the suggested height is 680 px. If your website does not allow iframes, use the activity link instead.